
Painting en plein air is a term that describes the act of painting outdoors. In French, "en plein air" means, "outside". I've found that sitting on the porch under the cool shade of our maple tree is one of the most relaxing places to sit for a half hour and do a mini painting.

If you've bought one of my mini painting kits from Etsy and haven't opened it up yet, now is the time! In this tutorial, I'll explain the best way to set up your mini painting kit peindre en plein air (to paint outside) (yes, I speak *some* French).
With this set up, you can paint practically anywhere. I've painted on road trips and on the plane. It's also pretty mess-free, so it's a really great activity for kids to do at home or on the go.
There are a few things you'll need to create the perfect, portable painting set-up:
(I couldn't think of another p)

I will be adding as many Amazon links as I can find, but you'll probably have most of these things at home already.

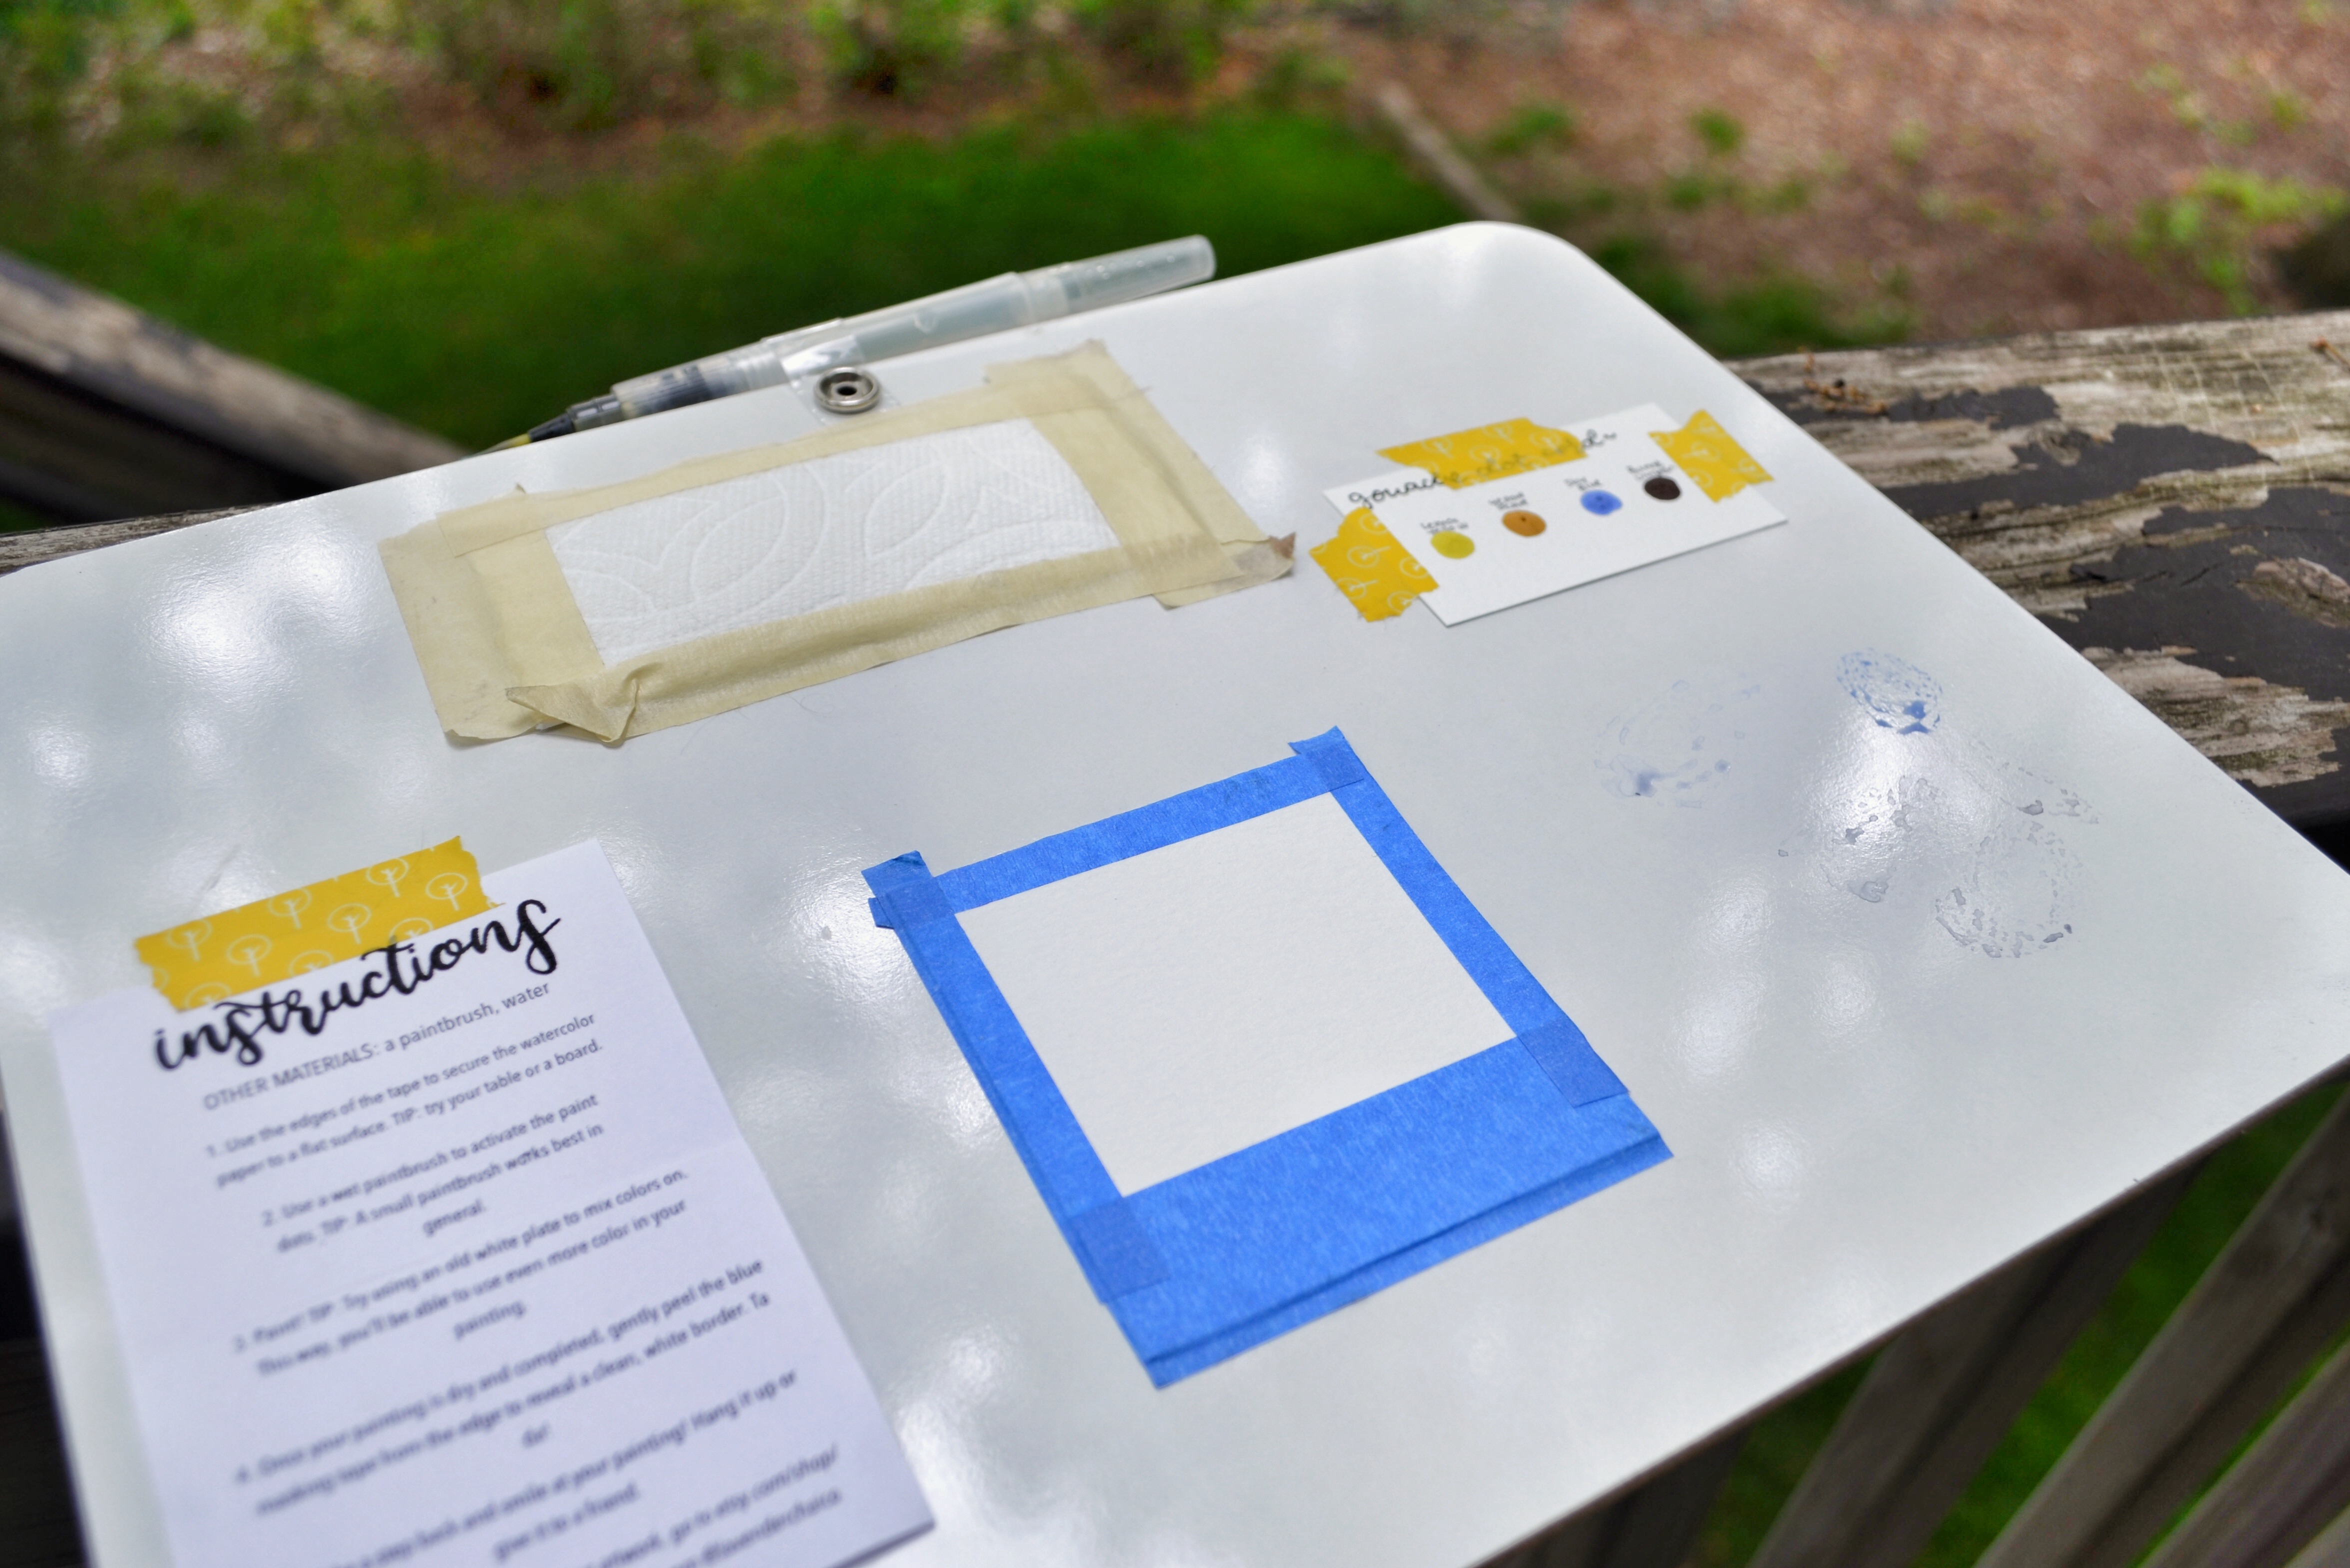
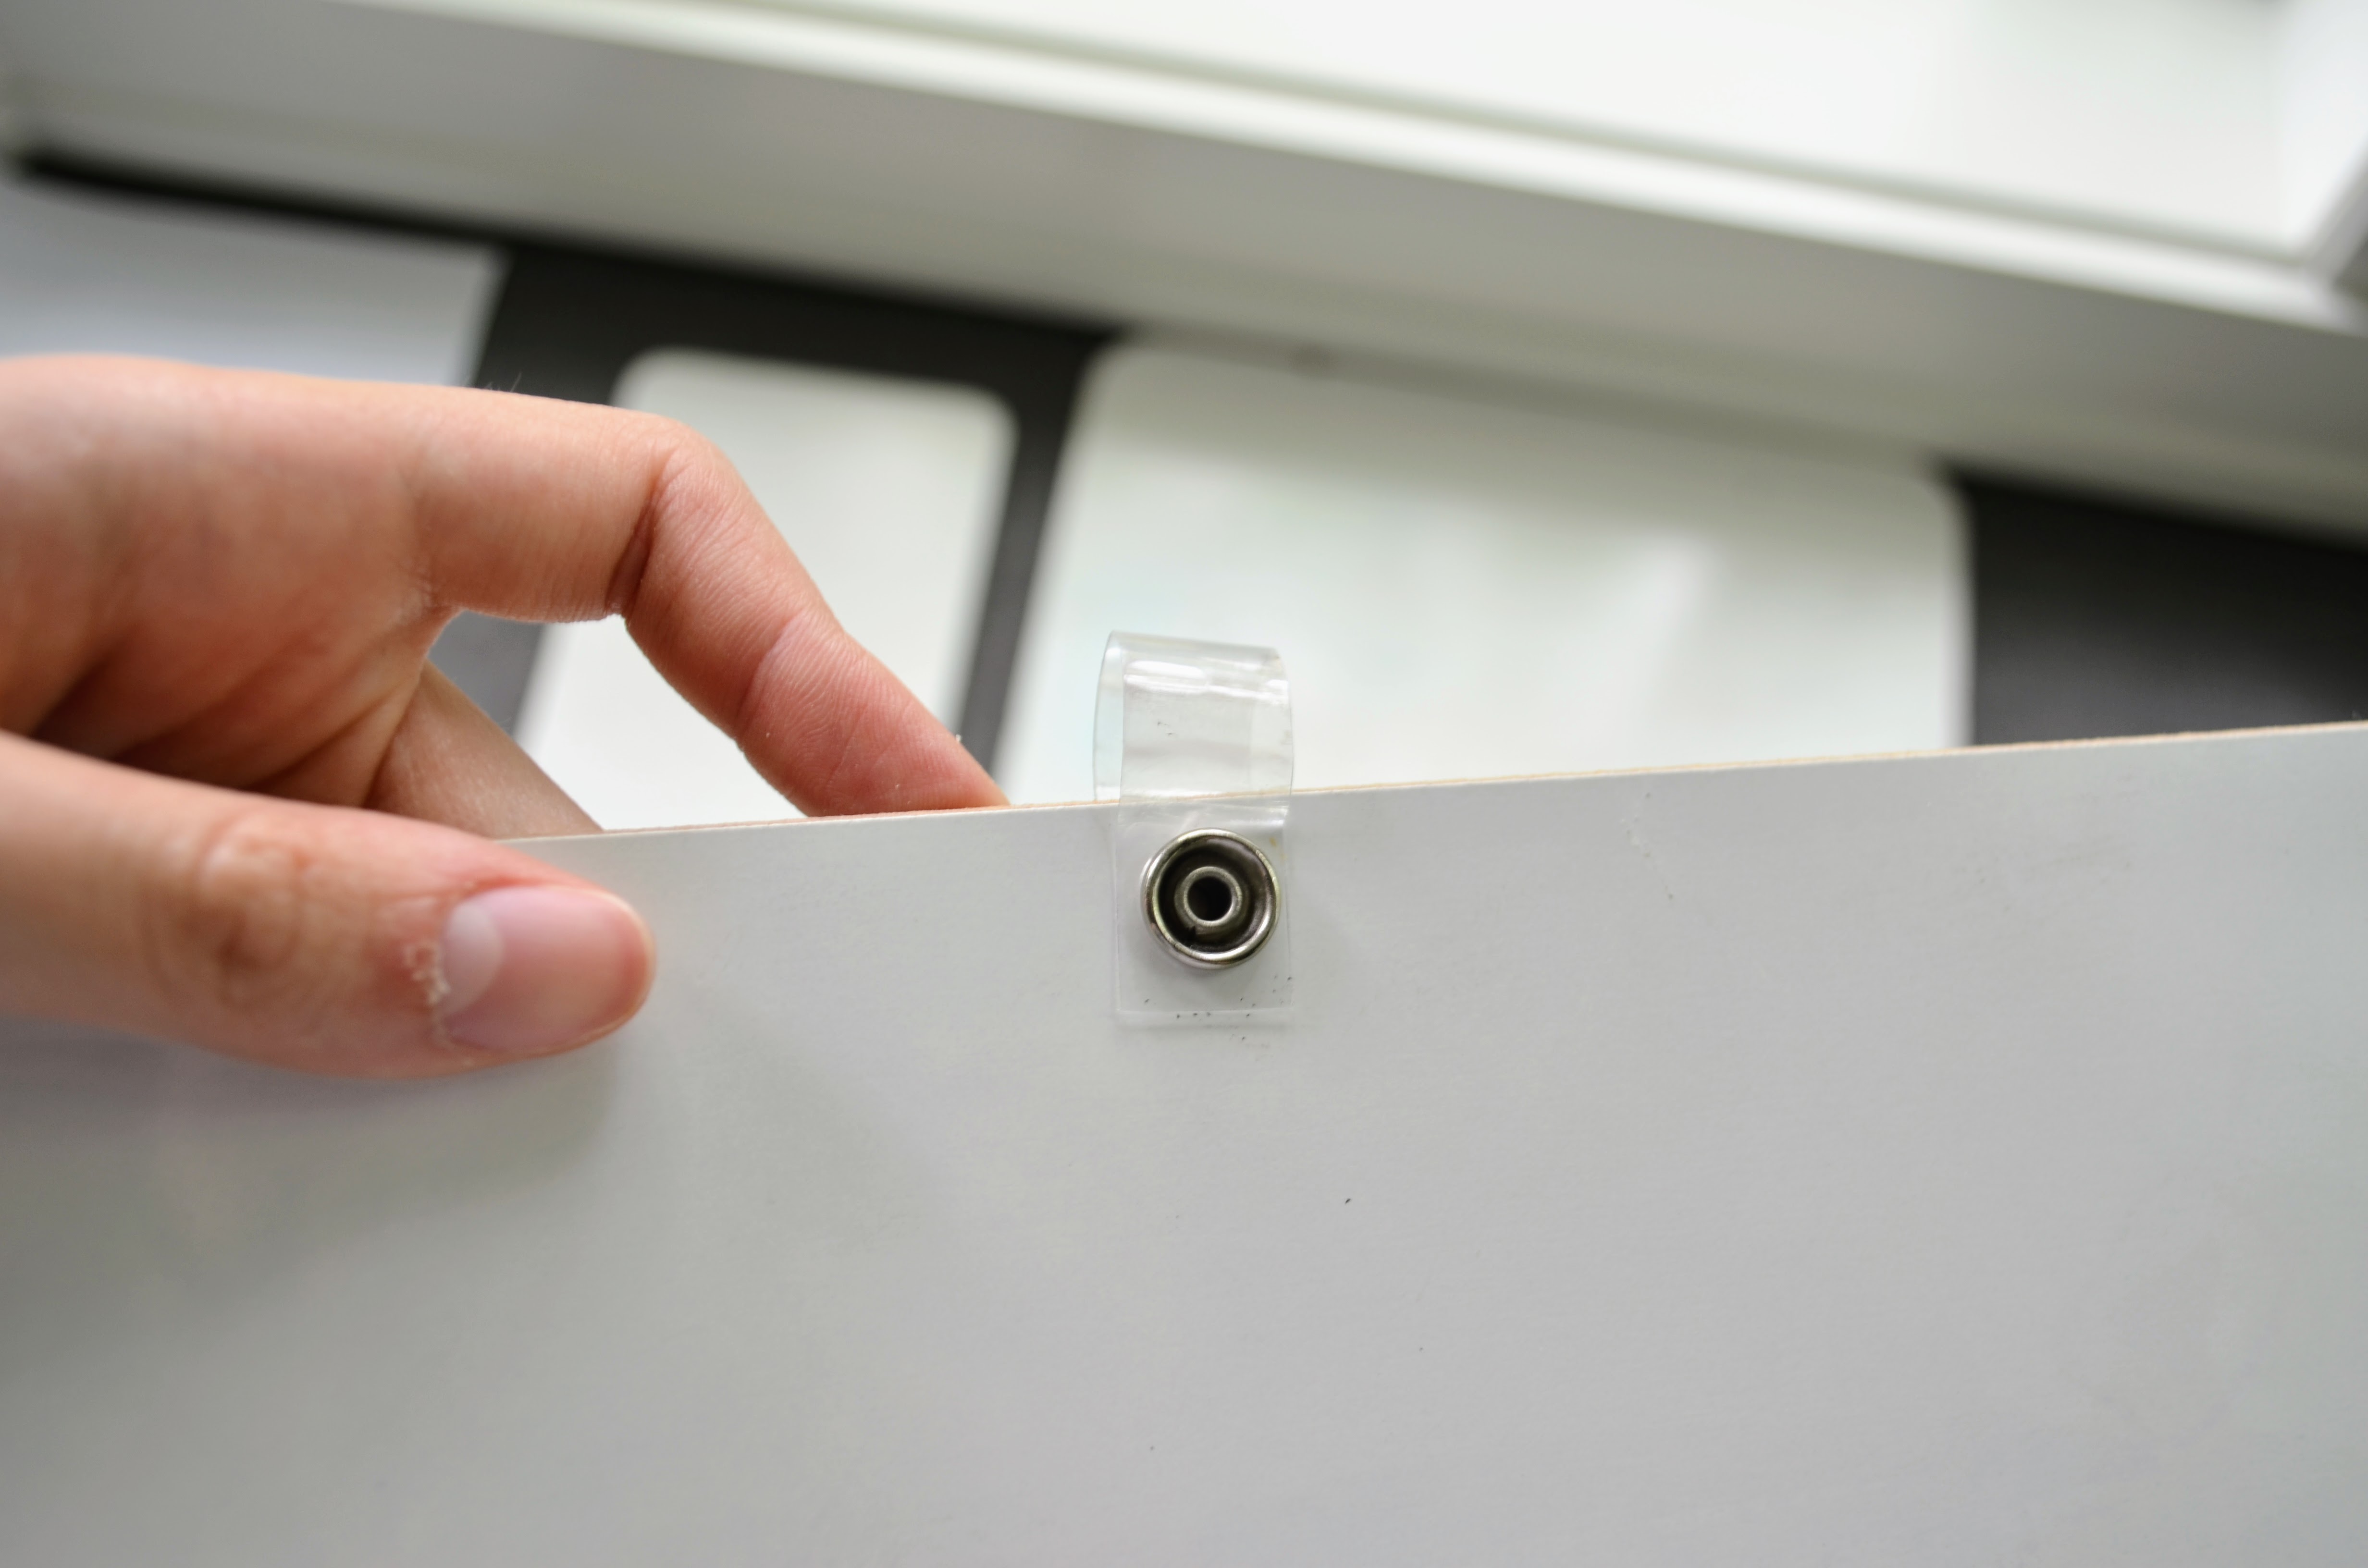
1. Personal whiteboards. You might already have one of these at home if you've got younger siblings, or had to teach a little one how to read and write. These whiteboards come in all different shapes and sizes. The one I'm using in this tutorial has a clip at the top which is perfect to hold a paint brush, but it isn't necessary. If you don't have a whiteboard, you can still follow this tutorial with a piece of cardboard or a hard plastic lid. Just make sure to save the little plastic bag that your mini painting kit comes in.
2. A water brush

This is one of the most essential tools to painting on the go. If you haven't heard of these before, a water brush is a paintbrush with a small tube of water in the place of a handle. This way, you can gently squeeze the brush and wet the brush hairs without needing to dip it in a cup of water. These are great if you're just beginning watercolor, and you're still learning how much water you should be using to paint with the desired effect. These are also great because they wont splash water anywhere if you're painting with little kids. Everything stays pretty dry.
You can find these at most craft stores for exorbitant prices without coupons, but I find the best place to buy these is on Amazon. Don't be fooled by the different shapes, colors, buttons and sizes, they all do exactly the same thing. I got these in a pack with three different sizes for a relatively good deal. I don't think they were any special brand, but I know the branded brushes preform the same.

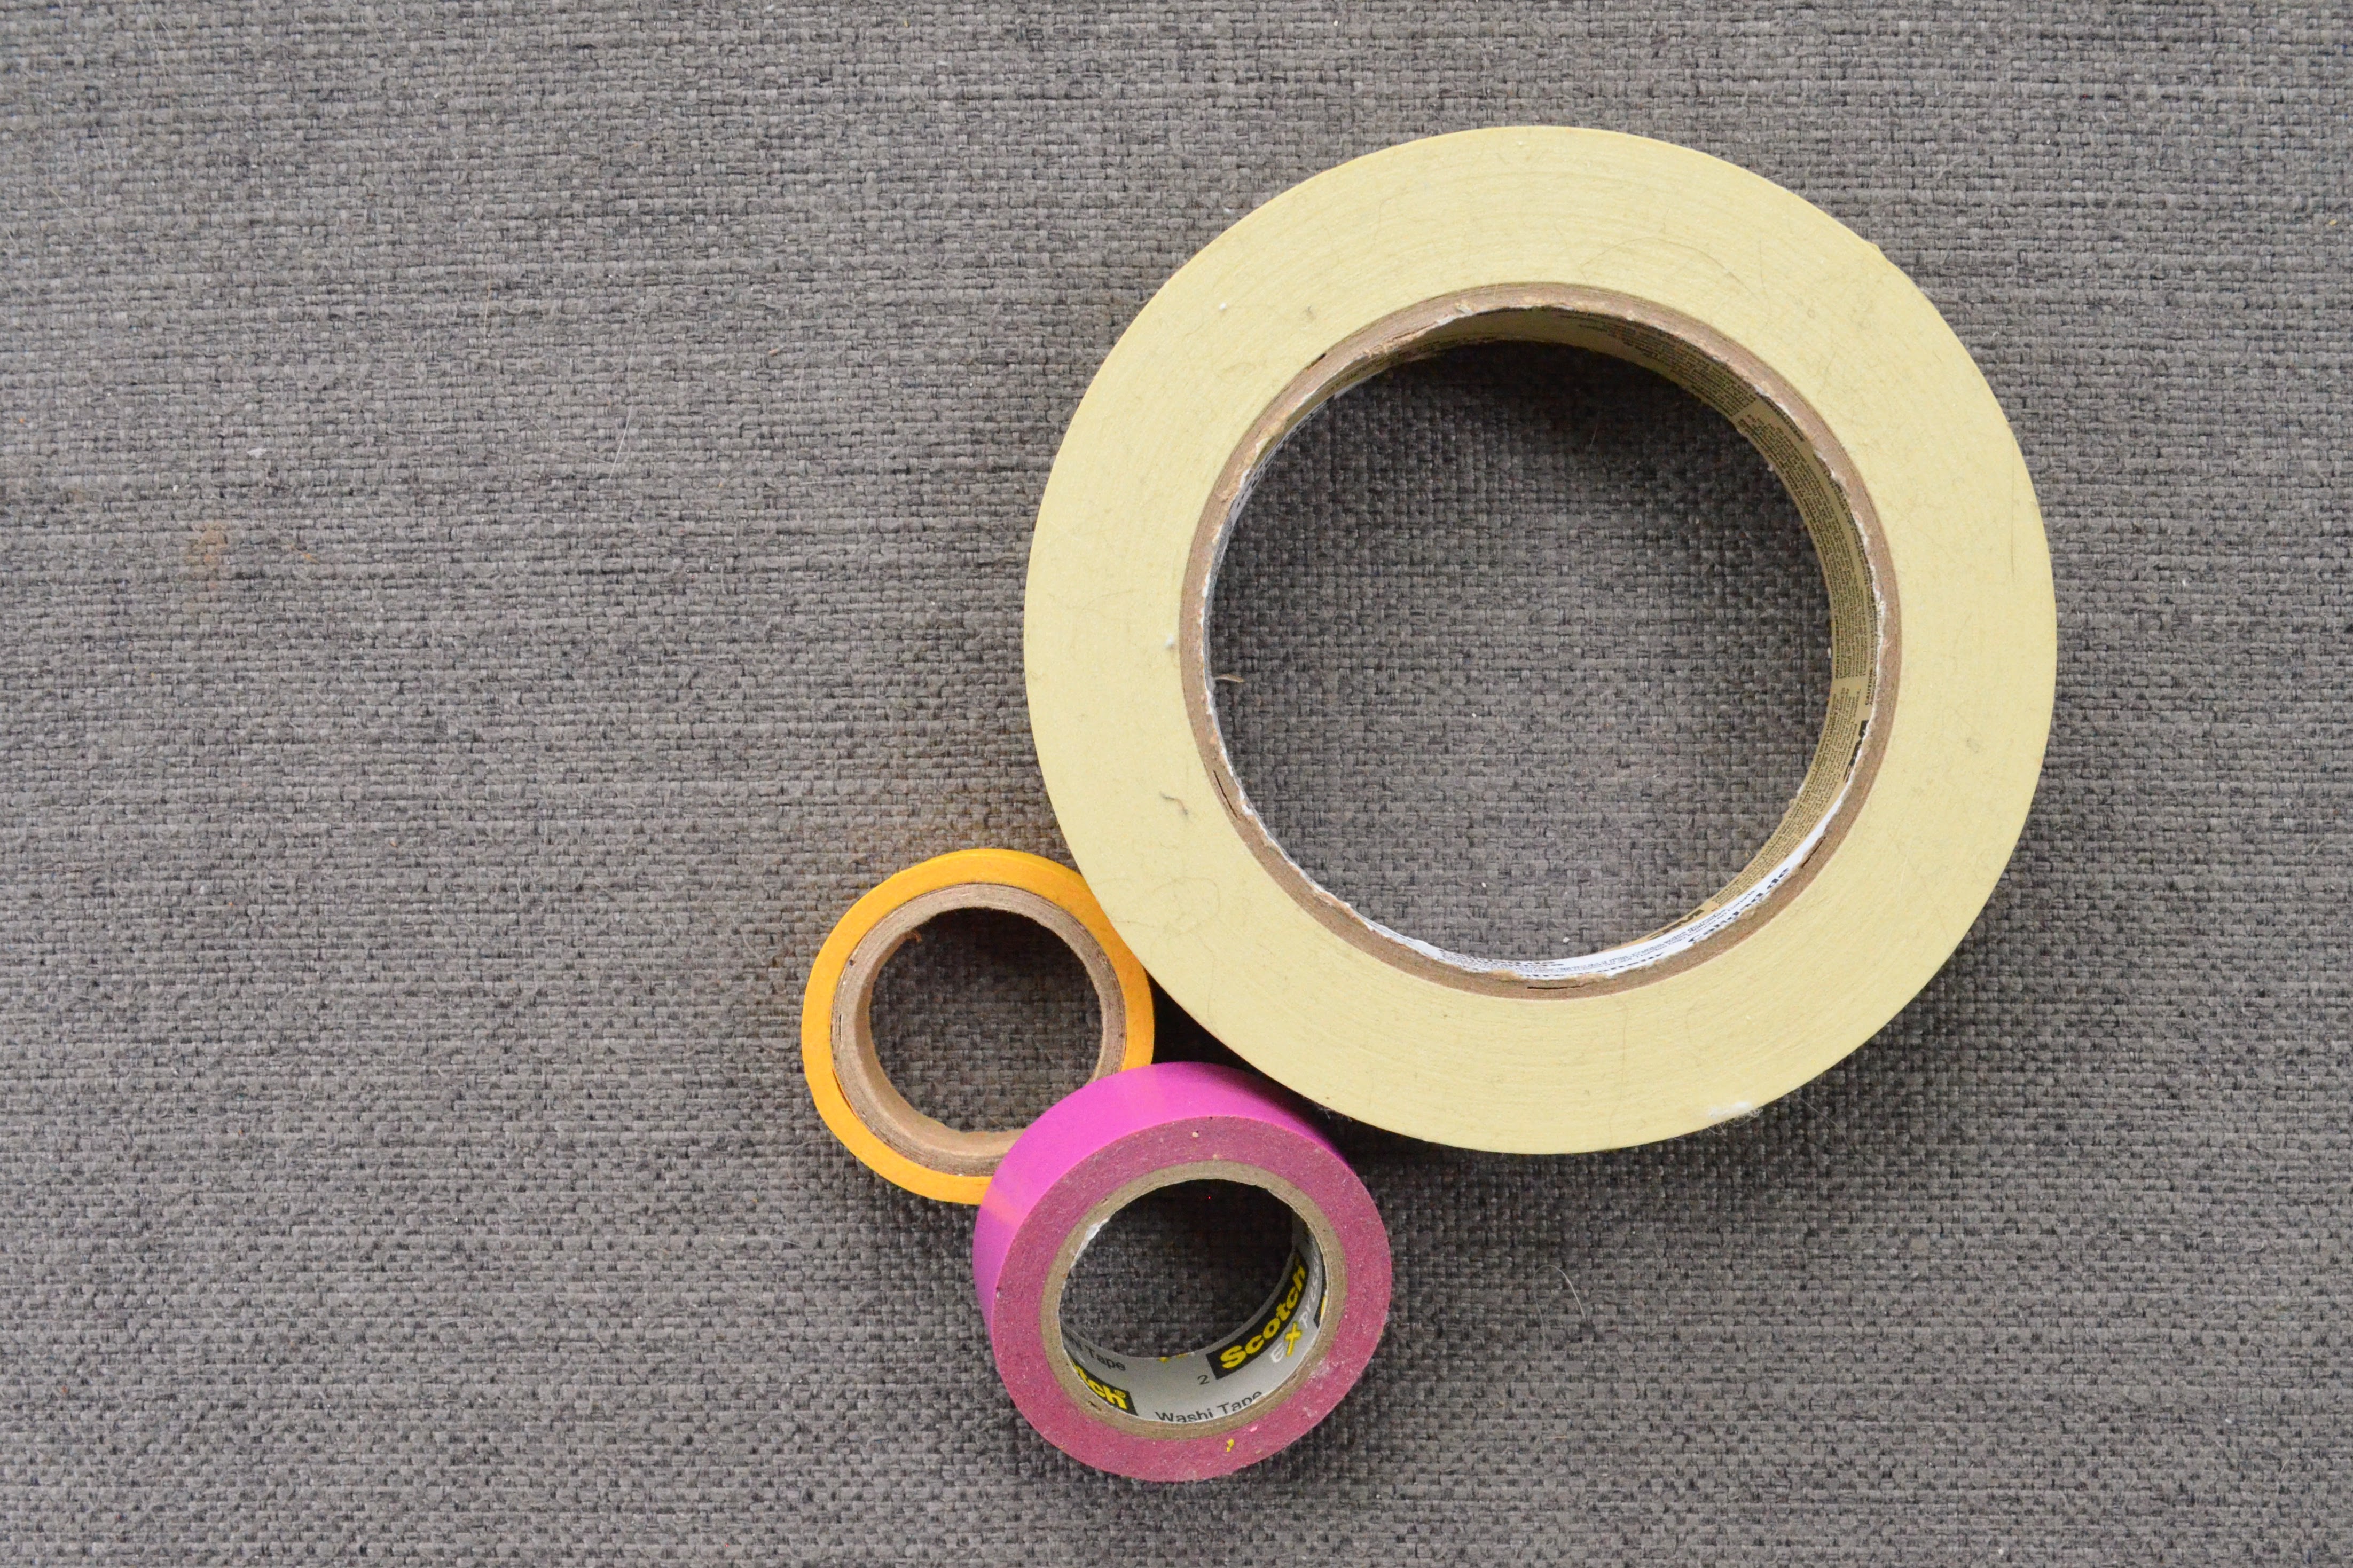
3 & 4. grab some paper towels and tape. The tape doesn't have to be anything special, but you can always find washi tape in fun patterns and colors.
And finally, you'll want to grab one of my Mini Painting Kits from Etsy. They're $5 each, with free shipping throughout the US.

There are plenty of colors to choose from, so you can find one for you, your friend, your kid, or your next door neighbor. In this tutorial, I'll be using the newest addition to my shop- the 'Sunflowers' kit.
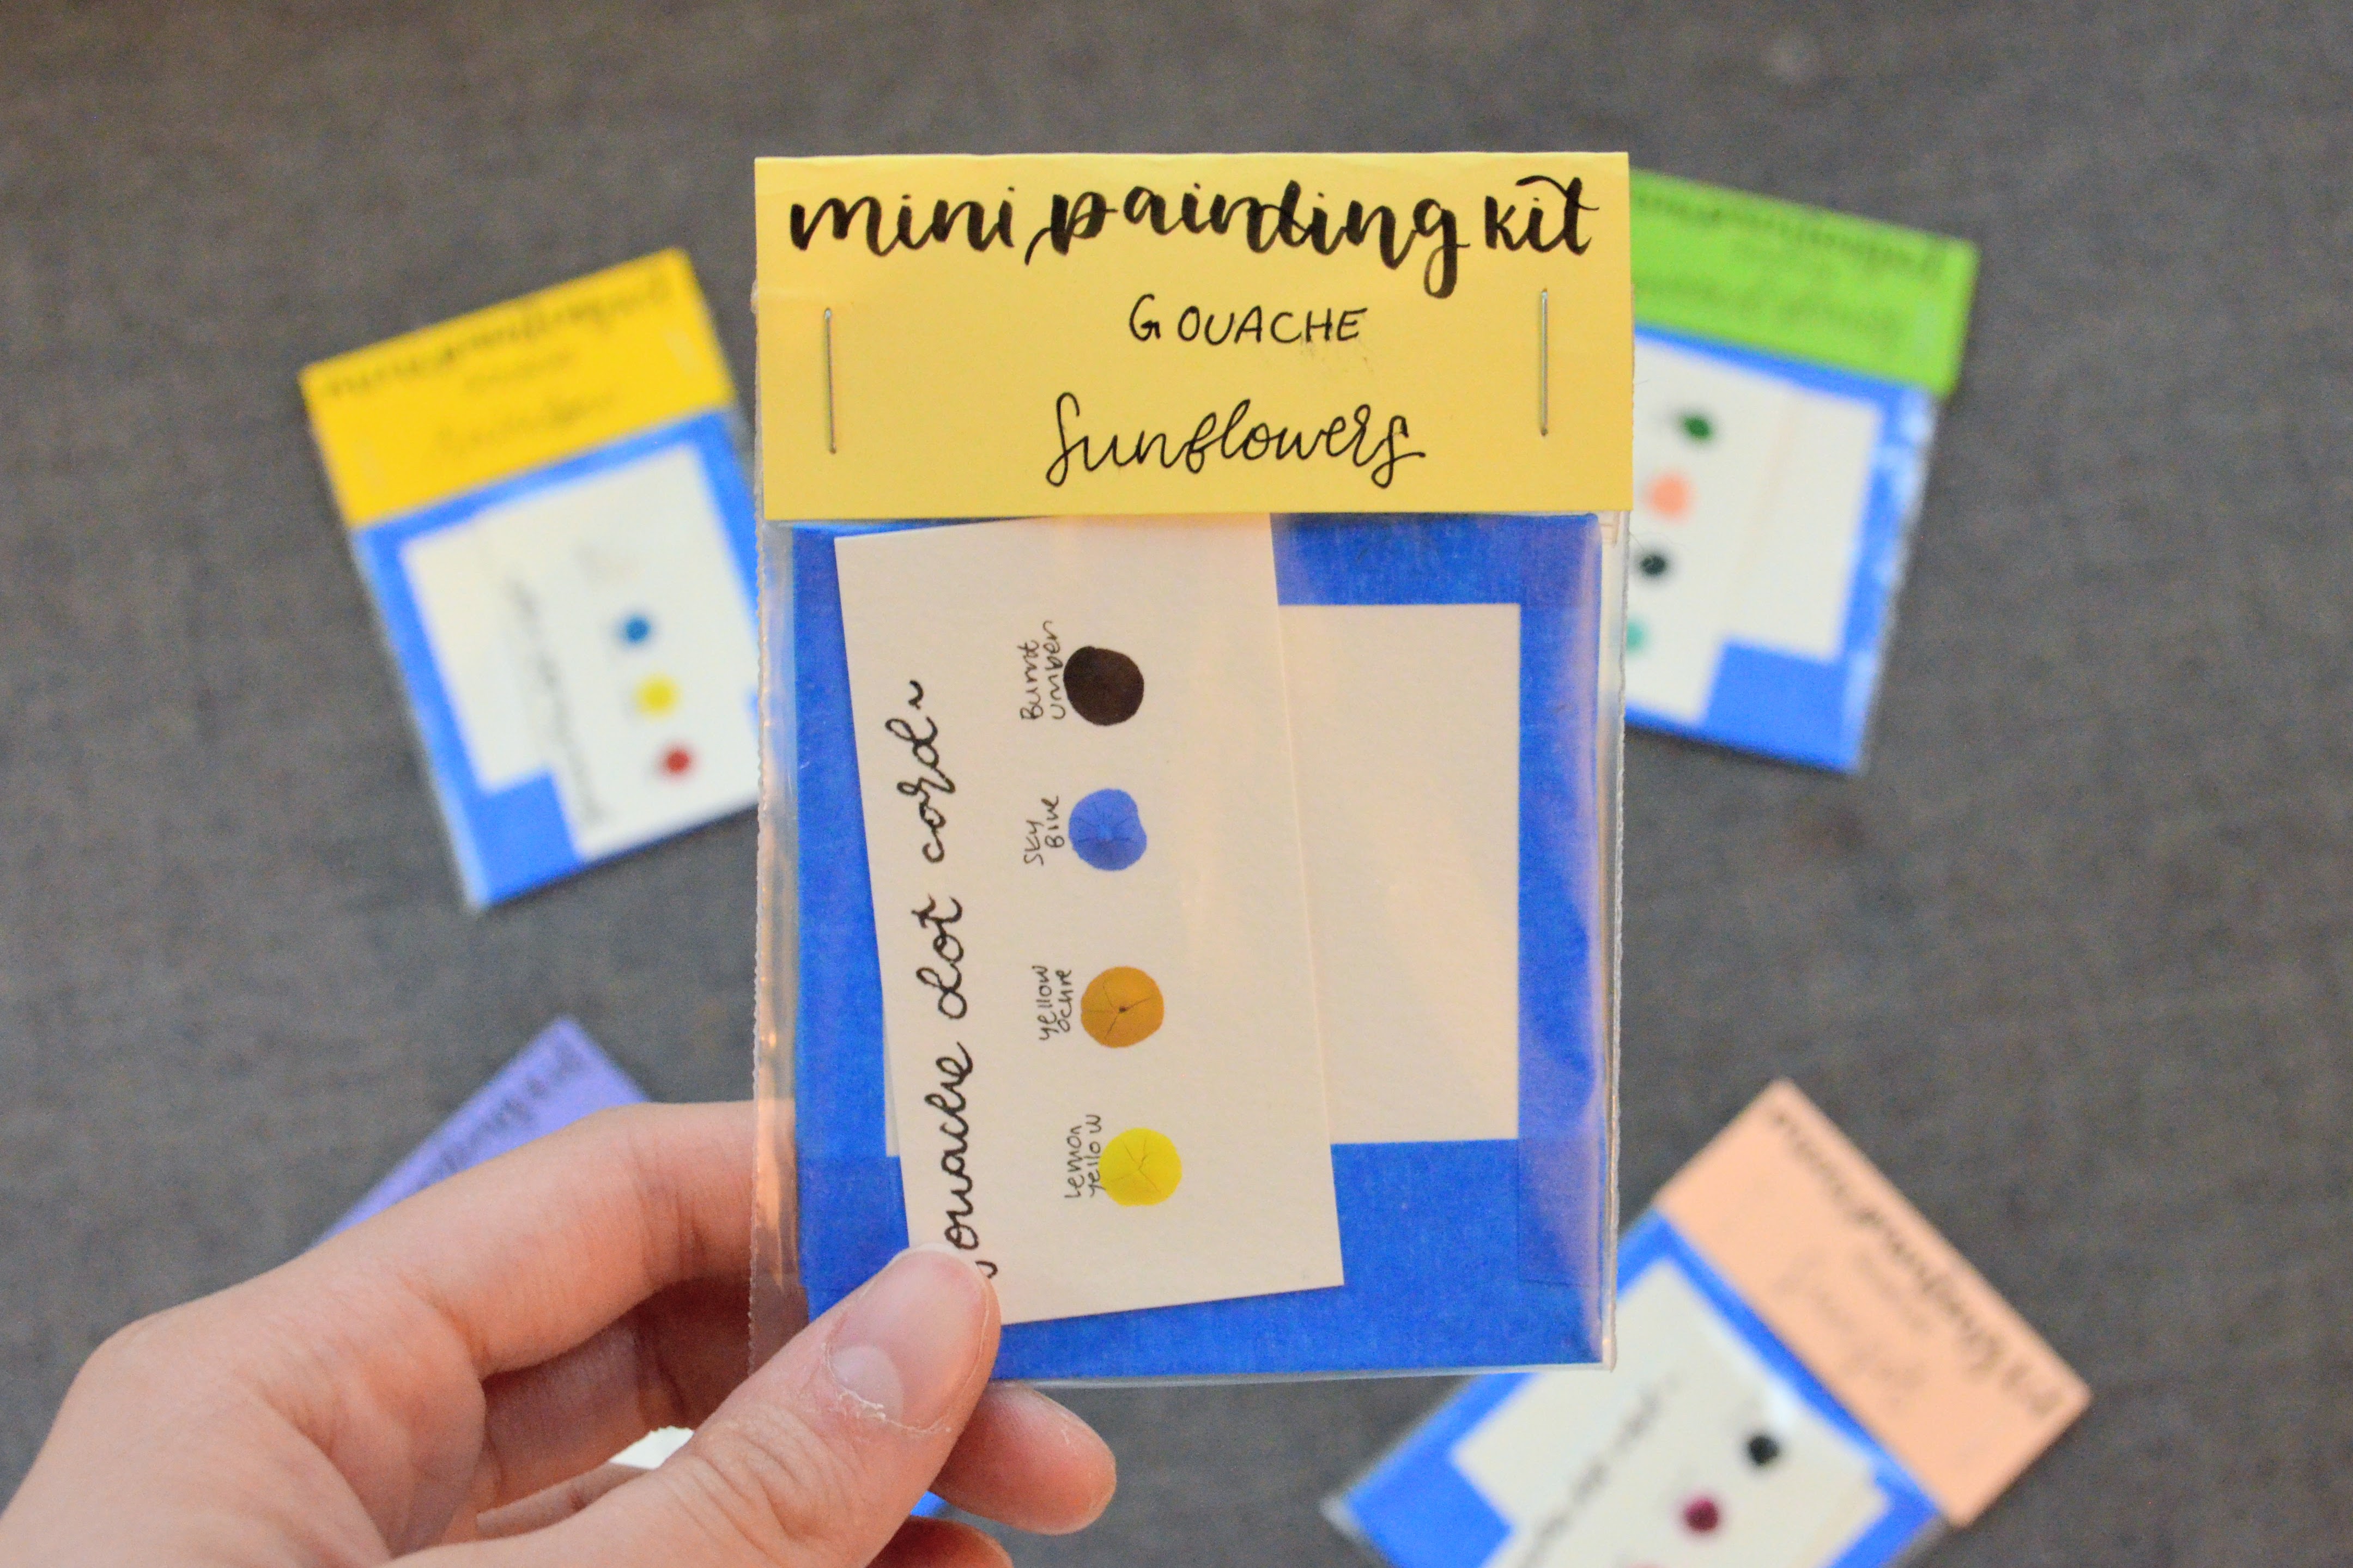
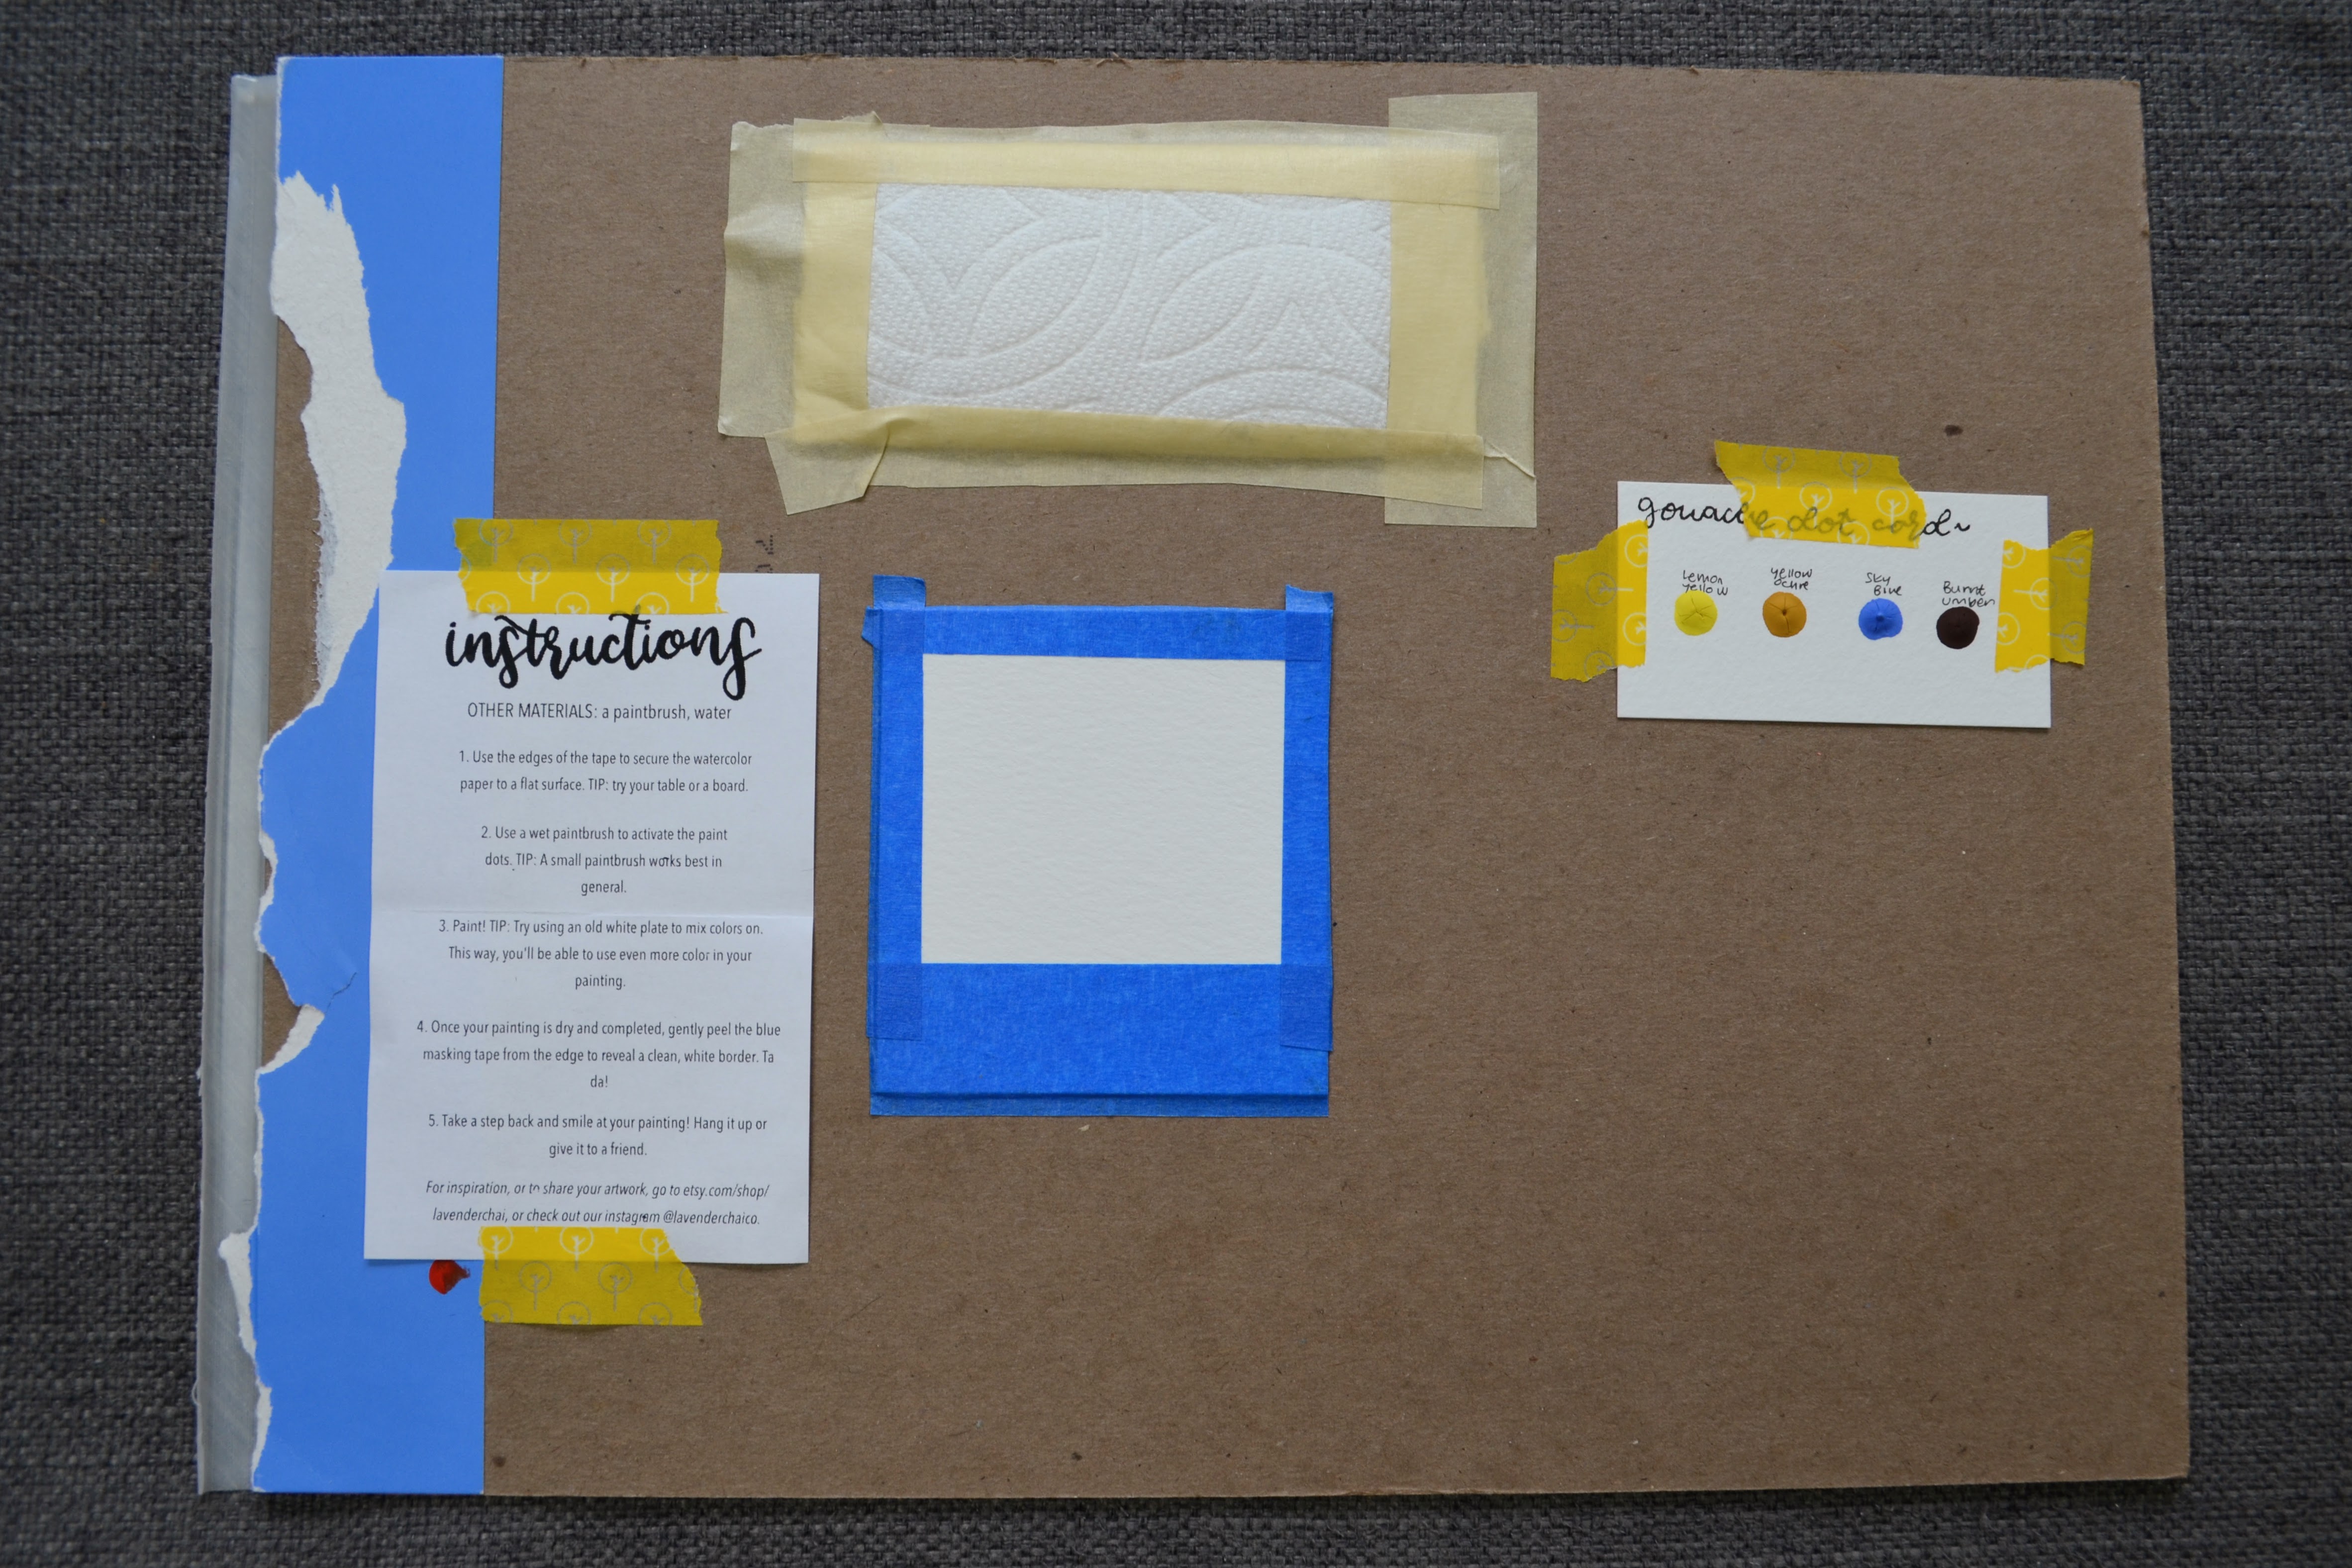
The first thing you'll want to do, is open up your painting kit. Inside, you'll find the pre-taped watercolor paper card (Yes, it looks like a polaroid photo!), a mini sheet of instructions, and a dried gouache or watercolor palette. You'll re-wet this to paint with it.

Take the watercolor paper card, and gently peel the edges of the tape from the back of the card. This way, you can use that tape to secure it to the whiteboard, which will be the base of this setup.


I've put the card a little off-center so there would be space to rest my palm (I'm right-handed) and still adequate room to use as a mixing palette.
You can also stick on the instructions, if you are so inclined.

For the paper towel, I cut and folded a narrow piece and taped it to the top of the board. This way, I can wipe my brush without worrying about holding on to the towel. It looks like a little pillow!


Tape the dot card to the right (or left, depending) side of the whiteboard. The space underneath will act as a mixing palette.


At this point, you're pretty much done! Grab your water brush, get outside and paint! If you're painting on a road trip or an airplane, save some photos on your phone to use as inspiration. I have an entire board of photos that inspire me to paint on Pinterest that you can check out here.

As a mixing palette, the whiteboard works great in a pinch. It also wipes off clean with a damp towel. On the other hand, you can also do this project without a whiteboard:
Here, I've reused the cardboard from the back of a paper pad.
For a mixing palette, you can actually reuse the plastic bag that your mini painting kit came in!
I slipped a piece of white scrap paper into the plastic bag, and folded the zip to the back. Tape it down, and voilà! You have a mixing palette.


I will admit the whiteboard makes a better palette, because the coating doesn't cause the paint to bead up. In the next photo you'll see that the paint has resisted the plastic so much, it collected into little beads of watery paint. Despite this, one of the perks of the plastic bag method is that you can customize your palette with fun shapes and outlines. This is especially fun for kids, helping them keep their colors separate while mixing. This will make paintings less muddy.

By drawing on the paper inside the bag, you can create an organized and exciting mixing palette.

Emily
PIN ME!


Congratulations on starting your blog, Emmy! Very excited thinking about the new friends you'll make through your writing. This is a good tutorial - I love the tip about sticking the paper towel to the board to make a "dab pad" of sorts. Such a simple idea and so immediately useful - so "duh, why didn't I think of that?" And yes, I remember you painting on the plane with those water brushes!
ReplyDeleteWell hello, Emily! Congratulations on the blog, the Etsy store and all around becoming an awesome teen :). Do I dare say you take after your mother (in so many ways)?! Looking forward to seeing future posts and watching you take these exciting steps!
ReplyDeleteWhat a great setup! I love your little painting kits.
ReplyDeleteBeautiful pictures and a very nice idea. Sadly I´m from Europe and a shipping would cost more than the paper an gouache itself. I hope you don't mind if I take your ideas as an inspiration for my daughter.
ReplyDelete